


July 10, 2026
Latest
Popular News

Top 10 IELTS Coaching Institutes in Dehradun
Searching for the best IELTS coaching in Dehradun? This comprehensive guide compares the top 10 IELTS institutes, coaching fees, course details, faculty, mock tests, and admission support to help you choose the right institute for your study abroad journey.

Best Graduation Courses After 12th | Career Guide 2026
Confused about what to study after Class 12? This guide explains the best graduation courses for Science and Commerce students, including engineering, computer degrees, business, and finance programs. Learn about career opportunities, future scope, and tips to choose a course that matches your interests and long-term goals.

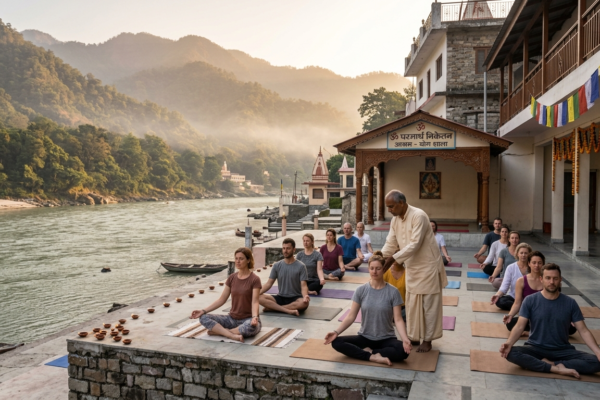
Best Cafes in Rishikesh: Top Riverside & Tapovan Cafes
Looking for the best cafes in Rishikesh? Explore top riverside cafes, popular spots near Laxman Jhula, and cozy cafes in Tapovan. This guide covers must-visit cafes, their locations, ambiance, and what makes them worth adding to your Rishikesh itinerary.
Latest News


")


